
Behind every polished-looking podcast studio is a series of practical choices. Most start with where people will sit, how voices will be recorded, and where the camera can see them.
The most beautiful studio is one that makes recording easy and helps listeners focus on the conversation.
In this guide
Choose your recording zone
Pick the quietest available corner, preferably with soft furniture and away from loud appliances. Your first goal is to prevent external noise and reduce distracting reflections. Set the microphone position, then choose the camera angle and lights around it. Try a short recording in the morning and one at night; the noise profile can change dramatically.
You do not need to cover every wall in foam. Add a rug, curtains or broadband panels near strong early reflection points. If outside noise is the problem, acoustic foam may not help; consider a different time, room or location instead.

Do this next
 Illustrative studio photo · see exact item on Amazon
Broadband Acoustic Panels
Reduce room reflections and overly live voice recordings.
Useful when your room sounds echoey.View on Amazon Paid affiliate link • No live price shownBuild a background with depth
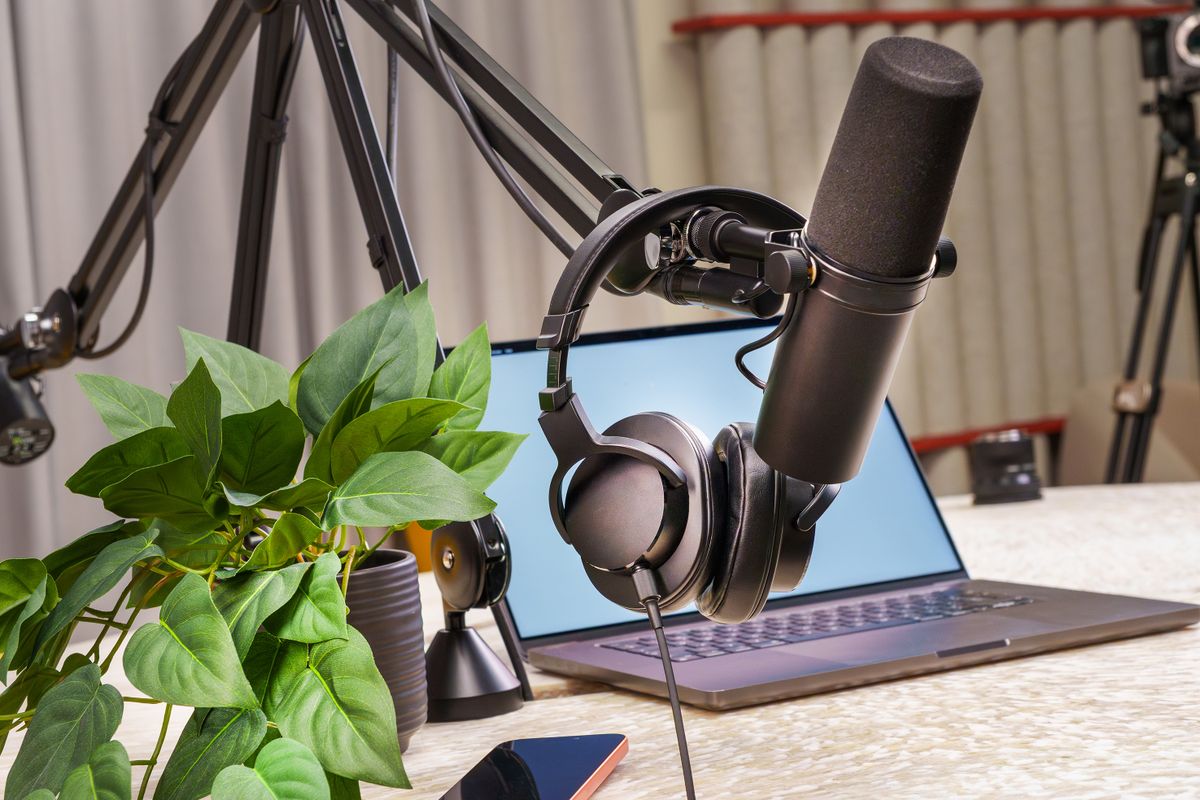
A little distance between the host and the background creates visual separation. Use shelves, a plant, warm practical lamps, or carefully arranged artwork rather than a crowded wall of random items. Keep logos, personal information, and reflective surfaces out of the shot when they distract.
Look at real behind-the-scenes photos for furniture layouts, lighting height, and the relationship between guests. Take inspiration from their design principles without copying another show's logo, photos or distinctive set wholesale.
Do this next
Go deeper: Related podcast tutorial
Place your camera and lights
For a seated host, eye-level framing is usually flattering and natural. A soft key light to one side of the lens helps avoid harsh facial shadows. If you have a second light, use it as subtle fill or background separation. Lock color temperature if you can so the picture does not change mid-interview.
You can film the show with a phone. The Sony A7 IV and other interchangeable-lens cameras give you more creative choices, but a good lens and consistent lighting are needed to realize them. For interviews, consider a wider frame that keeps everyone visible before adding close-up angles.

Do this next
 Illustrative studio photo · see exact item on Amazon
amaran 100x S LED Light
Adjustable continuous lighting for flattering, consistent video.
Lighting can improve the image from almost any camera.View on Amazon Paid affiliate link • No live price shownGo deeper: Best Cameras for Podcasting: Sony A7 IV and Alternatives
Make furniture comfortable for long conversations
A desk or table should leave enough room for arms, drinks, notes and safely routed cables. Chairs should be comfortable and reasonably quiet when people move. A chair that creaks on every gesture is an audio problem, no matter how elegant it looks. If guests frequently join, leave room for their equipment and personal belongings.
Keep a repeatable setup photo showing the mic positions, camera tripod, light stands and cable routes. That simple reference can save time every episode. Use a checklist to turn on lights, clear distractions, test each mic and start the backup.
Do this next
 Illustrative studio photo · see exact item on Amazon
Adjustable Studio Desk
A flexible desk for production, recording and editing.
Comfort and clean cable routing beat a flashy setup.View on Amazon Paid affiliate link • No live price shownNow you've got a plan.
The most beautiful studio is one that makes recording easy and helps listeners focus on the conversation.
Keep the setup simple, learn from the first recording, and follow the next guide that answers a problem you actually have. You don't need to buy everything on this page to publish your show.
See the 90-day planThis is independently written beginner guidance. Gear descriptions focus on product features and practical fit, not unverified testing or invented performance rankings. Product availability, bundles, and prices can change. Photos are real-world studio illustrations, not verified images of the exact recommended models.


